So you’ve gotten all your watercolor supplies and are ready to dive in, but not sure where to start? I gotchu, boo!
There’s tons of super helpful tutorials out there for beginners, but a lot of them begin with techniques that are not shown in any kind of real application. Personally, I like to learn cool ways of painting in watercolors but the fun part for me is when I can quickly apply my learnings and create something of my own.
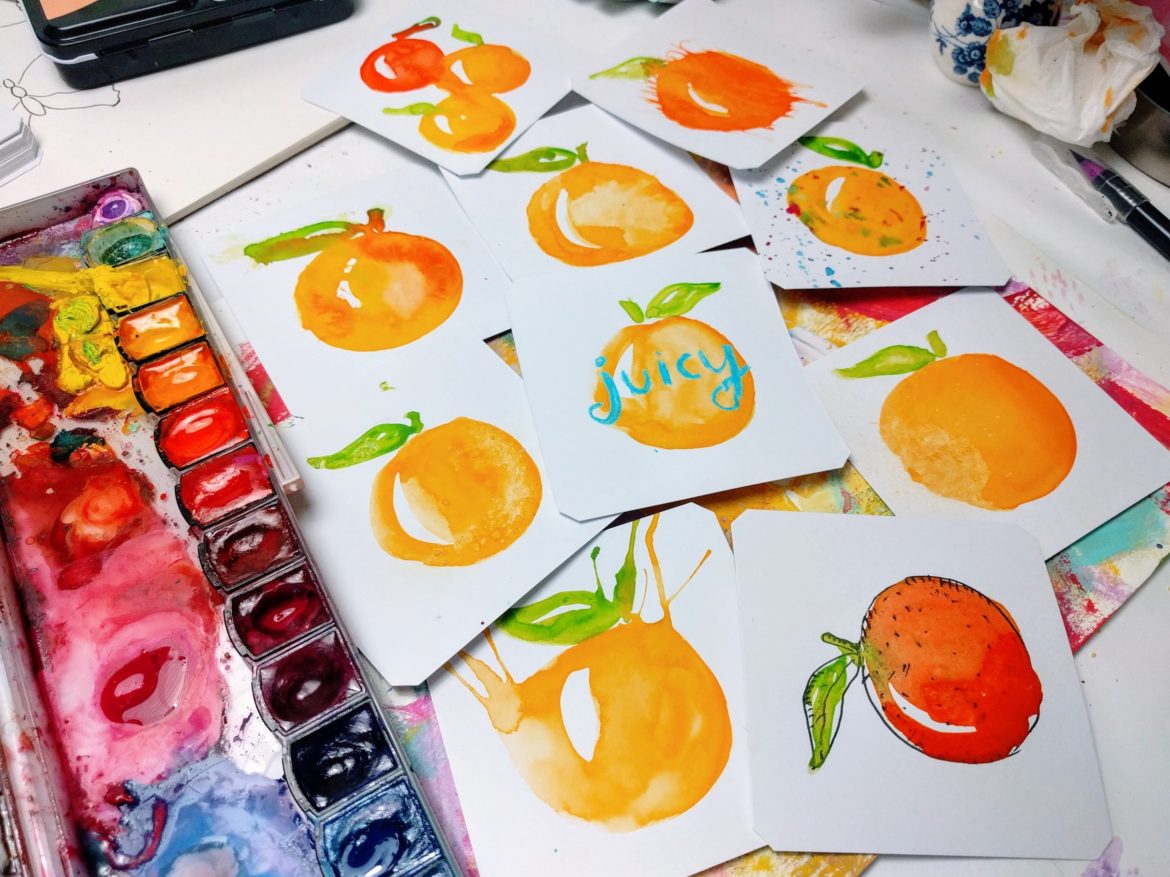
My goal with this tutorial is exactly that: show you 9 neat ways of using watercolors by practicing sketching an orange.
Oranges are simple to draw, even if you’ve never drawn one before! It’s a simple circle, just watch the video below for proof!
Hold on to your brushes, we are about to get watercolored!
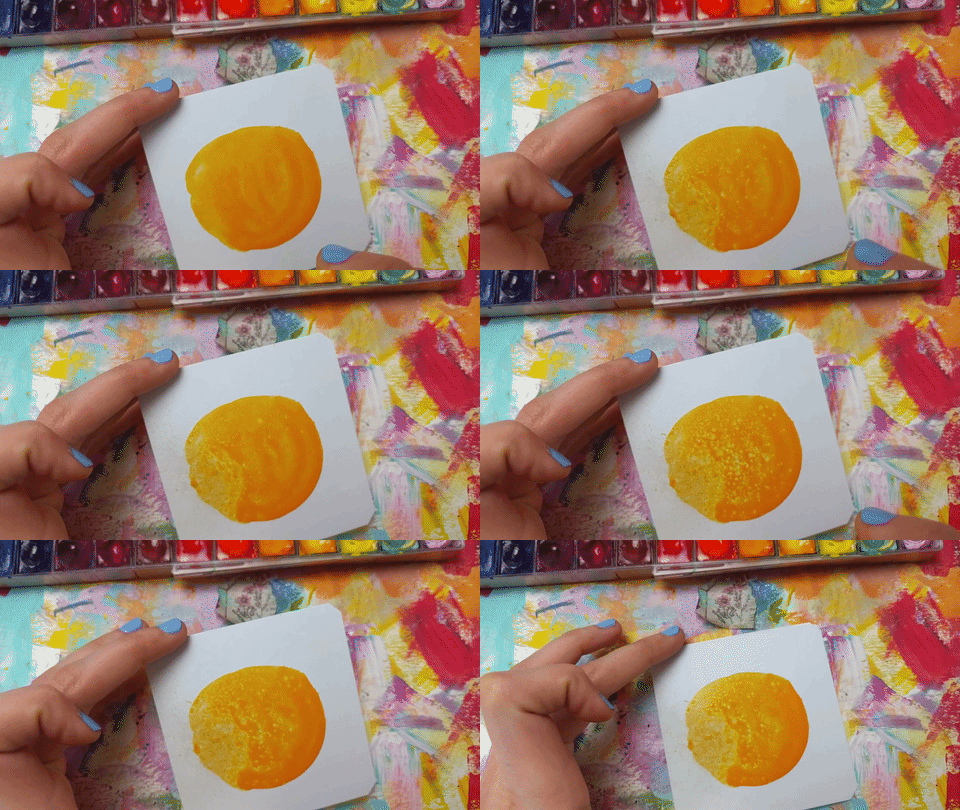
1. Salt (bae) Watercolor Technique
This adding salt to a still wet sketch, in the areas where you want a cool texture to form. Wait for your watercolor sketch to dry completely before removing the salt to reveal the magic underneath it.

2. Scratch Watercolor Technique
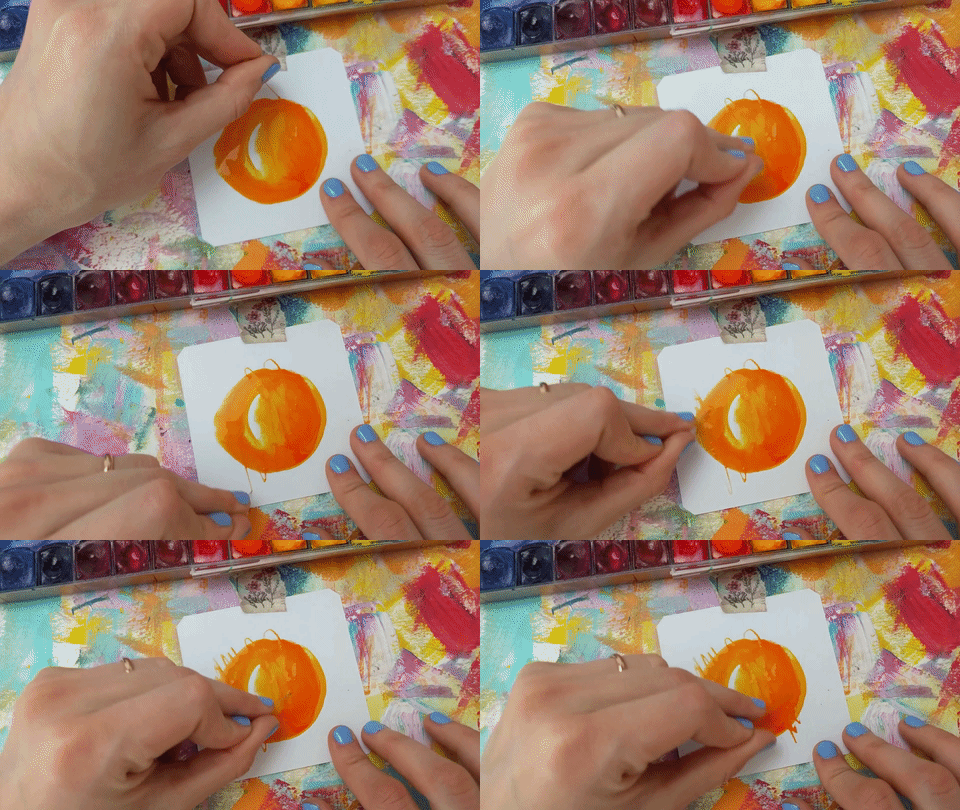
This technique can create a fun effect of thin lines by dragging a needle or sharp object across your (still wet) watercolor sketch. It can give a sense of movement to an object or give an abstract feel to your orange.
3. Adjacent Bubbles Watercolor Technique
By sketching adjacent bubbles or circles and allowing them to touch, you create opportunities for the paint to mix and create beautiful color variations. Start with a yellow, then go to orange, and then a red for a fun take on sketching multiple oranges.
I like to leave a sliver of unpainted surface to show the glow of the object, which gives it a more realistic and interesting look.
4. Wet On Wet Watercolor Technique
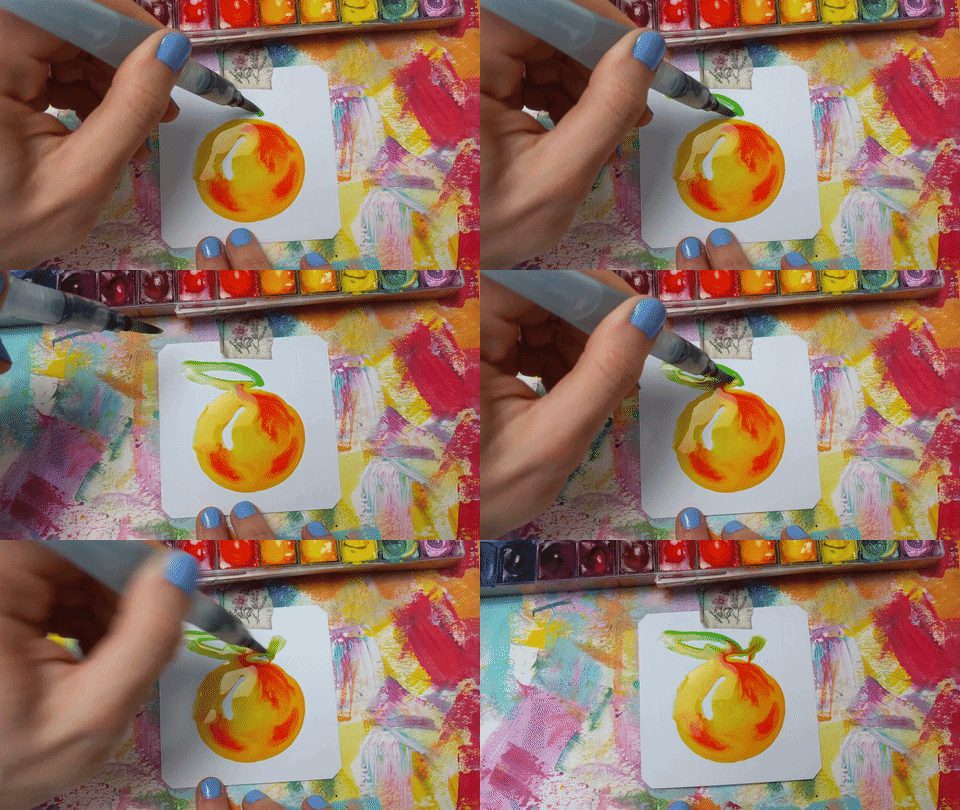
One of the most standard techniques to learn with watercolors is applying another color onto your first layer of watercolor paint. It’s important to have plenty of water on the page for the mixing effect to occur naturally as you add in the other color.
2. Crayon Resist Watercolor Technique
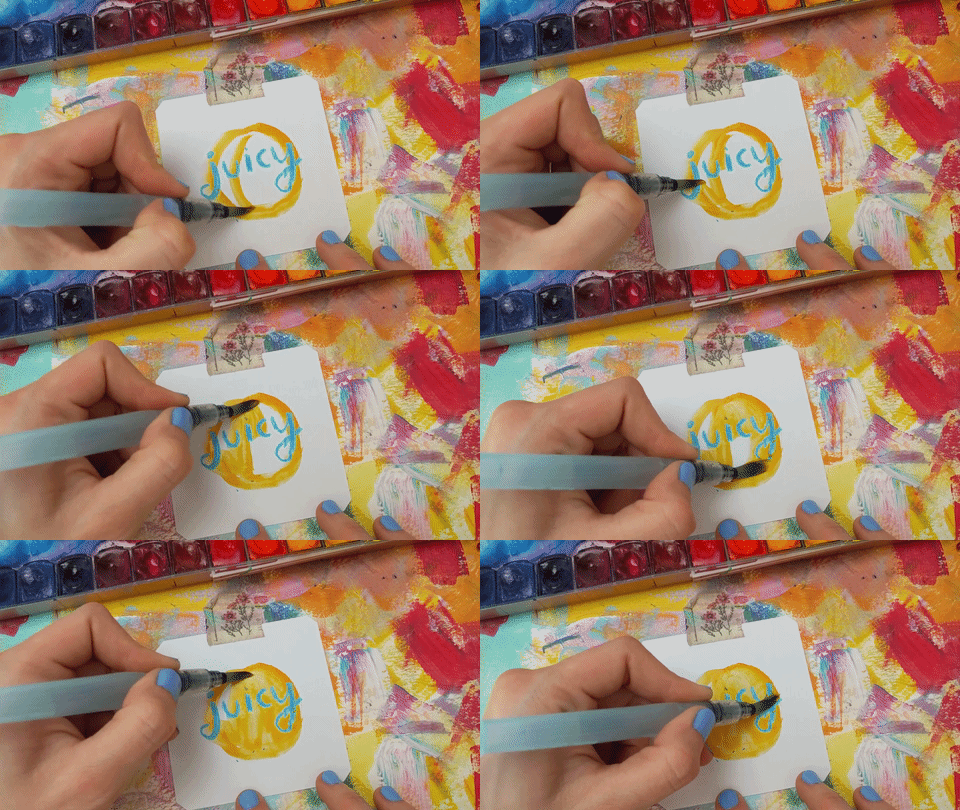
This is a fun way to add a texture or a word onto your sketch and then go over it with watercolors. The crayon will show through the watercolor paint even if you apply it directly on top of it.
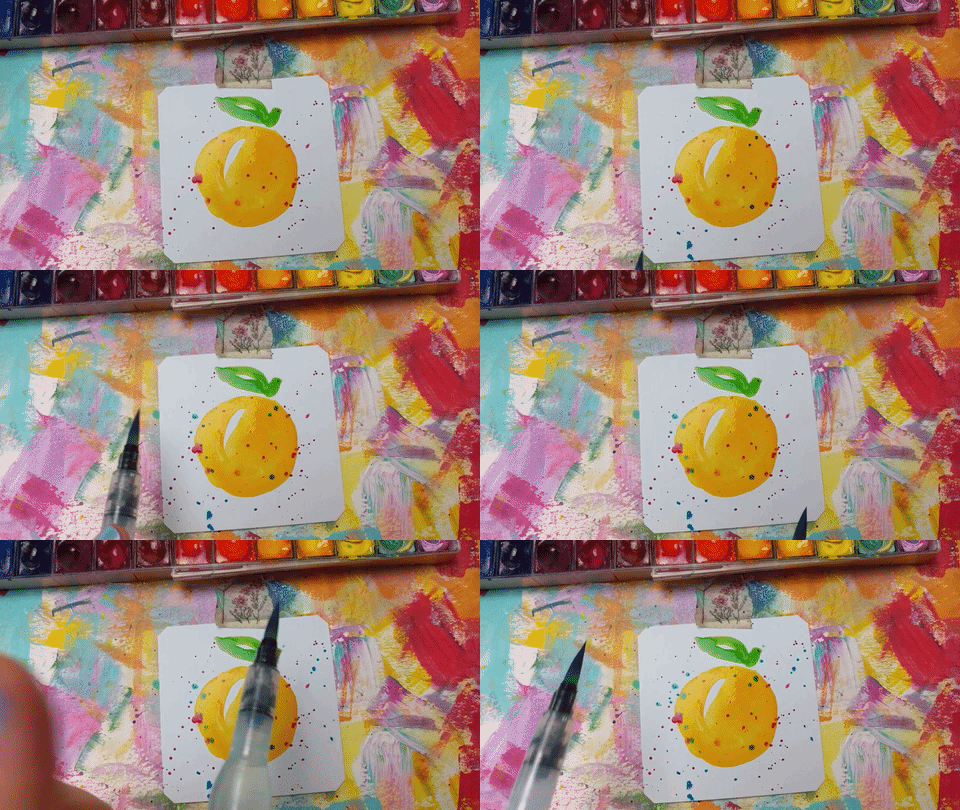
6. Splatter Watercolor Effect
One of my all time favorite techniques is tapping a loaded brush with water and paint to create splatters all over the page. No way your lil orange will look boring or ordinary ever again!
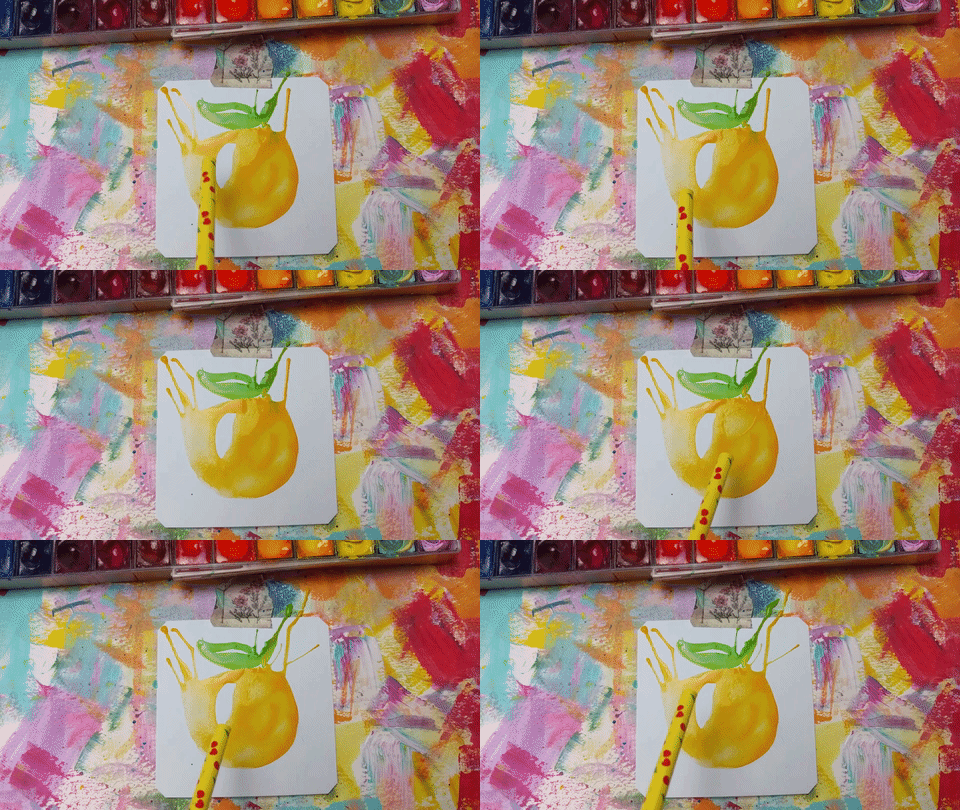
7. Blowing Paint Technique
Another way to add an interesting splatter effect is to use a strow and blow on the sketch while it’s still wet. This will displace the watercolor into streaks and create a drippy look.
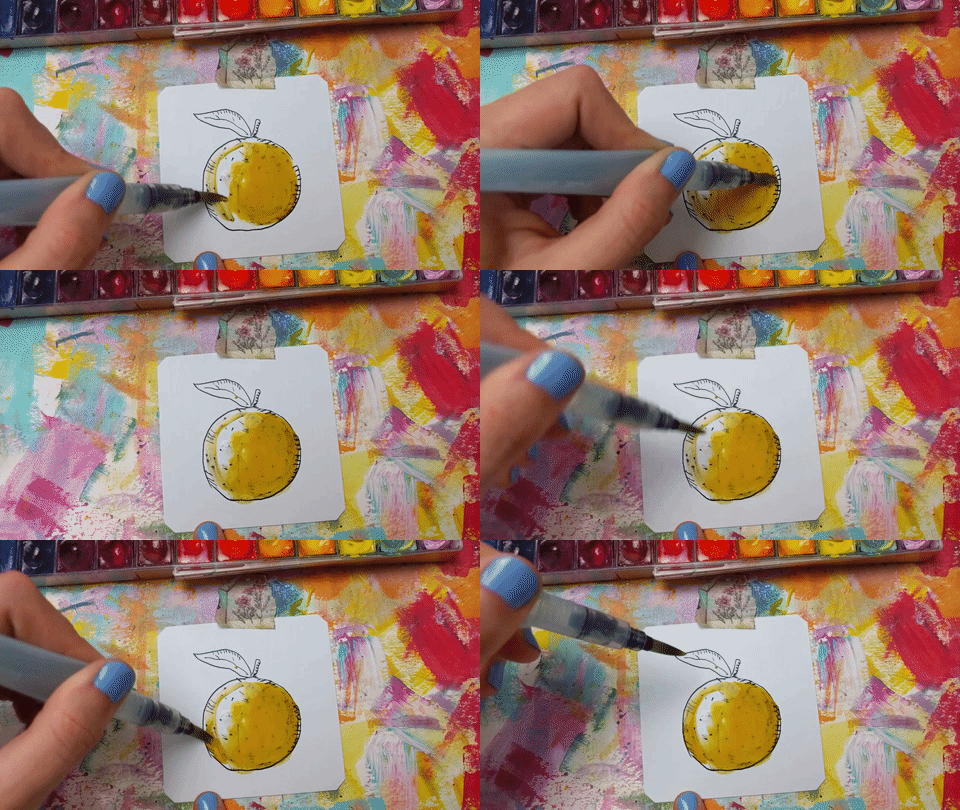
8. Ink and Watercolor Technique
I use this often in my sketches as I just love the feel of (waterproof) ink and the ability to add some hatch lines to indicates shadows. Then going over it in watercolor just makes the ink sketch come alive!
9. Alcohol Spray Watercolor Technique
For this technique I filed a small spray bottle with rubbing alcohol. While the sketch was still wet, I sprayed some alcohol onto my orange and it created a cool texture that really reminded me of the orange peel!
Please spray responsibly 😉
Want to see how I made the sketches above? Watch the video below for additional tips on how to paint an orange in 9 different ways with various watercolor techniques!
Keep on watercoloring! <3
