Hi sweet friend!
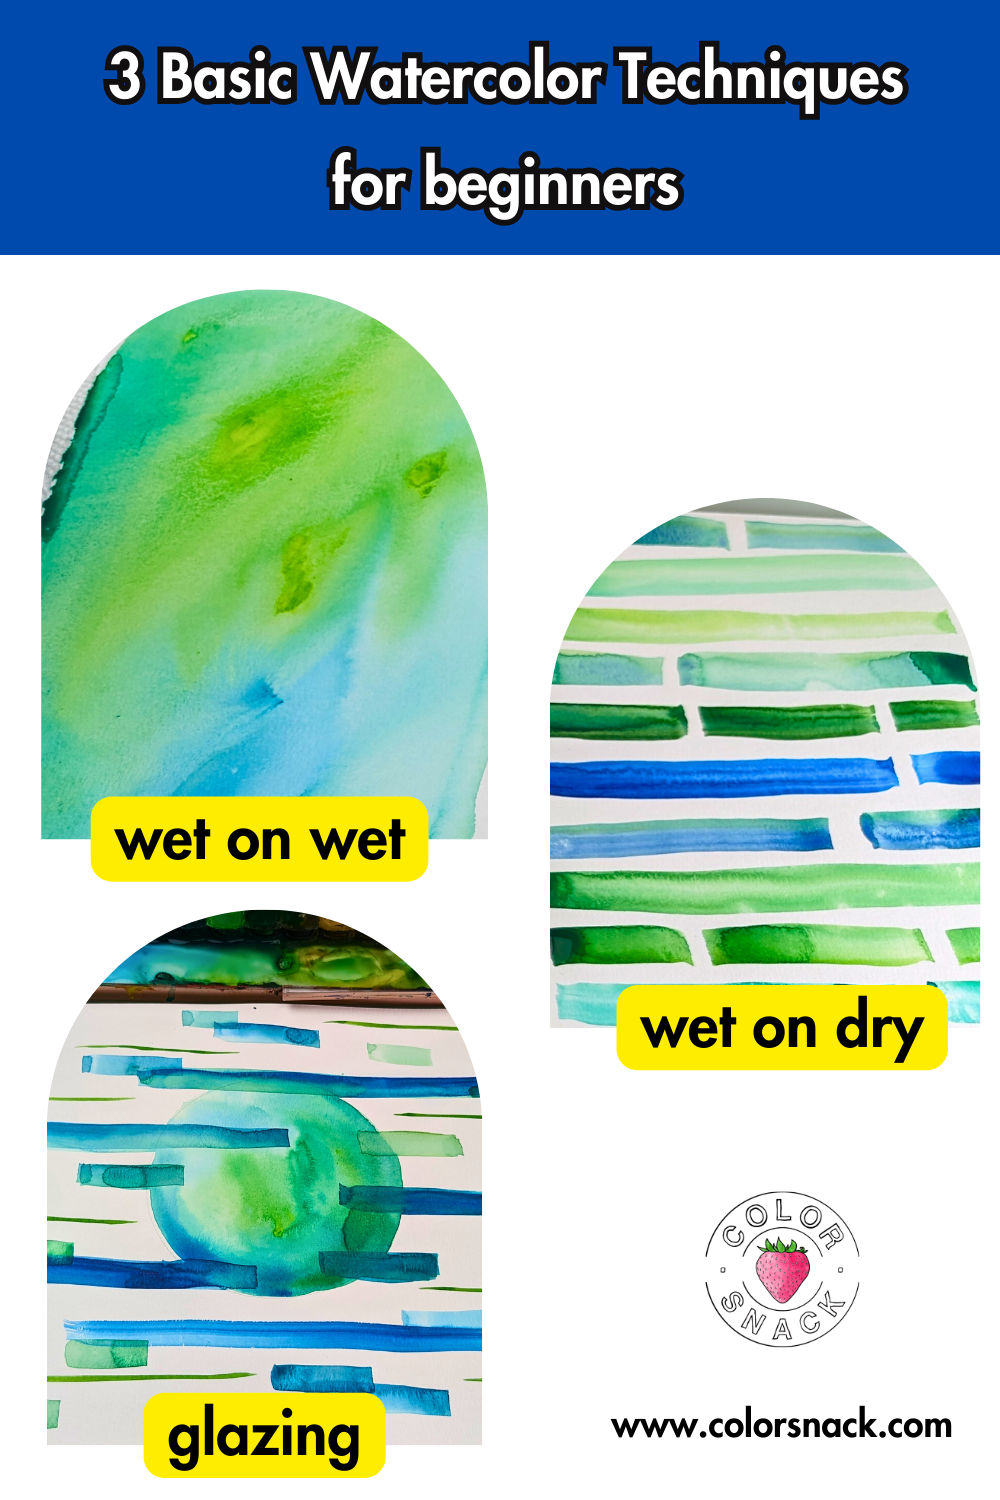
Today’s tutorial is all about diving into the 3 basic watercolor techniques every beginner should know.
Before you start painting though, please remember that learning and creativity are a process – you will likely not get it right the first time and that is OK! Treat everything you do with watercolors as an experiment and your personal play time!
In the video below I share each of the techniques in a really fun and simple approach. I encourage you to experiment with different color combinations and different shapes to see what you can create.
Wet on Wet Watercolor Technique
- Wet on Wet Technique: This dreamy technique involves applying watercolor onto a damp surface, allowing the colors to flow and blend into each other seamlessly. It’s perfect for creating soft backgrounds, skies, and water effects. Here’s how to get started:
- Moisten your paper with clean water using a large brush.
- While the surface is still wet, introduce your watercolor paint.
- Watch as the colors spread and interact, creating beautiful, organic patterns.
Wet on Dry Watercolor Technique
- Wet on Dry Technique: For more control and definition, the wet on dry technique is your go-to. It involves applying wet paint onto a dry surface, allowing for crisp edges and detailed work. Use it to add details and layers to your painting. Here’s what to do:
- Start with completely dry watercolor paper.
- Apply your wet brush loaded with paint directly to the paper.
- This technique allows for precise lines and details, making it ideal for adding textures and highlights.
Glazing Watercolor Technique
- Glazing Technique: Glazing is a method of layering colors on top of one another once the initial layer has dried. This technique can add depth, luminosity, and complexity to your work. Here’s a simple way to practice glazing:
- Begin with a fully dry, painted area of your watercolor paper.
- Apply a thin, transparent layer of a different color on top of the dry paint.
- Allow each layer to dry completely before adding another, building up colors gradually.
Watercolor Supplies You’ll Need
- Watercolor Brush
- Watercolor paper ( I recommend at least 140lbs in weight)
- Watercolor Paints (any set will work here!)
Looking for a list of my favorite watercolor supplies? You can grab the FREE PDF HERE.
These techniques, sweet friend, are just the beginning of what’s possible with watercolor. By practicing and combining them, you’ll discover your unique style and voice in this versatile medium. Remember, the key to mastery is patience, practice, and most importantly, enjoying the process.
For a visual guide and more detailed demonstrations, I invite you to watch my latest video. Dive into the world of watercolor with me, and let’s create something beautiful together.

